A great project to boost your new knitting skills, make as a gift for someone special, or keep for your favorite cup of java.
So how cute is this little mug mat?!
We'll practice the knit stitch (k), learn to purl (p), follow a "real" pattern, and how to weave in your beginning tail. Before we begin, though, if you are left-handed, READ THIS:
We are going to use
this pattern from FaveCrafts.com. If you need a pattern for a project,
FaveCrafts is the place to go to get one free. They have everything from sewing to knitting to crocheting and more. Go check them out sometime when you have a chance.
For this project, you will need:
1 ball of cotton worsted weight yarn (like Sugar-n-Cream), your choice of colors (I used a hot pink)
Size 6 needles (I used 7's)
Size D crochet hook
yarn needle
piece of scrap cardboard
ruler
scissors
Following the pattern,
cast on 19 stitches.
The first row of the pattern is just a plain
knit stitch (k), but here's where you start to weave in that leftover tail of yarn. Start by knitting 1 stitch.
Flip tail yarn away from you, towards the back of the work. Knit 1 more stitch.
Flip the tail back toward you. Continue moving the tail back and forth between stitches until you are about half way across the row. Finish knitting the row, then knit 2 more rows.
So this is where our next new stitch comes in. Start by knitting 9 stitches.
The next stitch is a purl (p). Begin by bringing your working yarn forward to the front of your piece.
Insert the right needle into the loop on the left needle from right to left, on the front side of the needle.
Loop working yarn UNDER the right needle.
Pull through the loop on the needle. Slide old loop off the left needle. It's just like a knit stitch, but in reverse. By working k's and p's, the yarn creates "bumps" on one side and a smooth side (what we typically recognize as a knitted texture) on the other. Switching back and forth allows the knitter to control where the bumps are, which in this pattern, creates the little heart.
By the way, when I first learned to purl, I CONSTANTLY would lose my stitch off my needle. If this happens to you, DON'T PANIC! Just slide your left needle CAREFULLY back into the little loop and try again. Keep trying until you get it - remember, practice patience and persistence.
Now you will knit the other 9 stitches across the row. I know just making 1 purl stitch isn't going to teach you how to do it very well, so that's why this pattern is really great. Continue following the pattern, working k's and p's as directed. After 6 rows, you'll start to see the bottom of the heart.
After 12 rows, it's starting to really shape up!
Since this pattern does involve some accurate counting, be sure to mark your pattern as needed to keep track of your progress.
Before you know it, you'll be all the way to the top!
Bind off and fasten off. Use your yarn needle or crochet hook to weave the loose end in on the back side. If you need to, use the hook to pull the beginning tail to the back side, too.
Now if you want, you can stop here. The mug mat in the
original pattern photo has fringe, and if you'd like to add fringe to yours, here's how to do it.
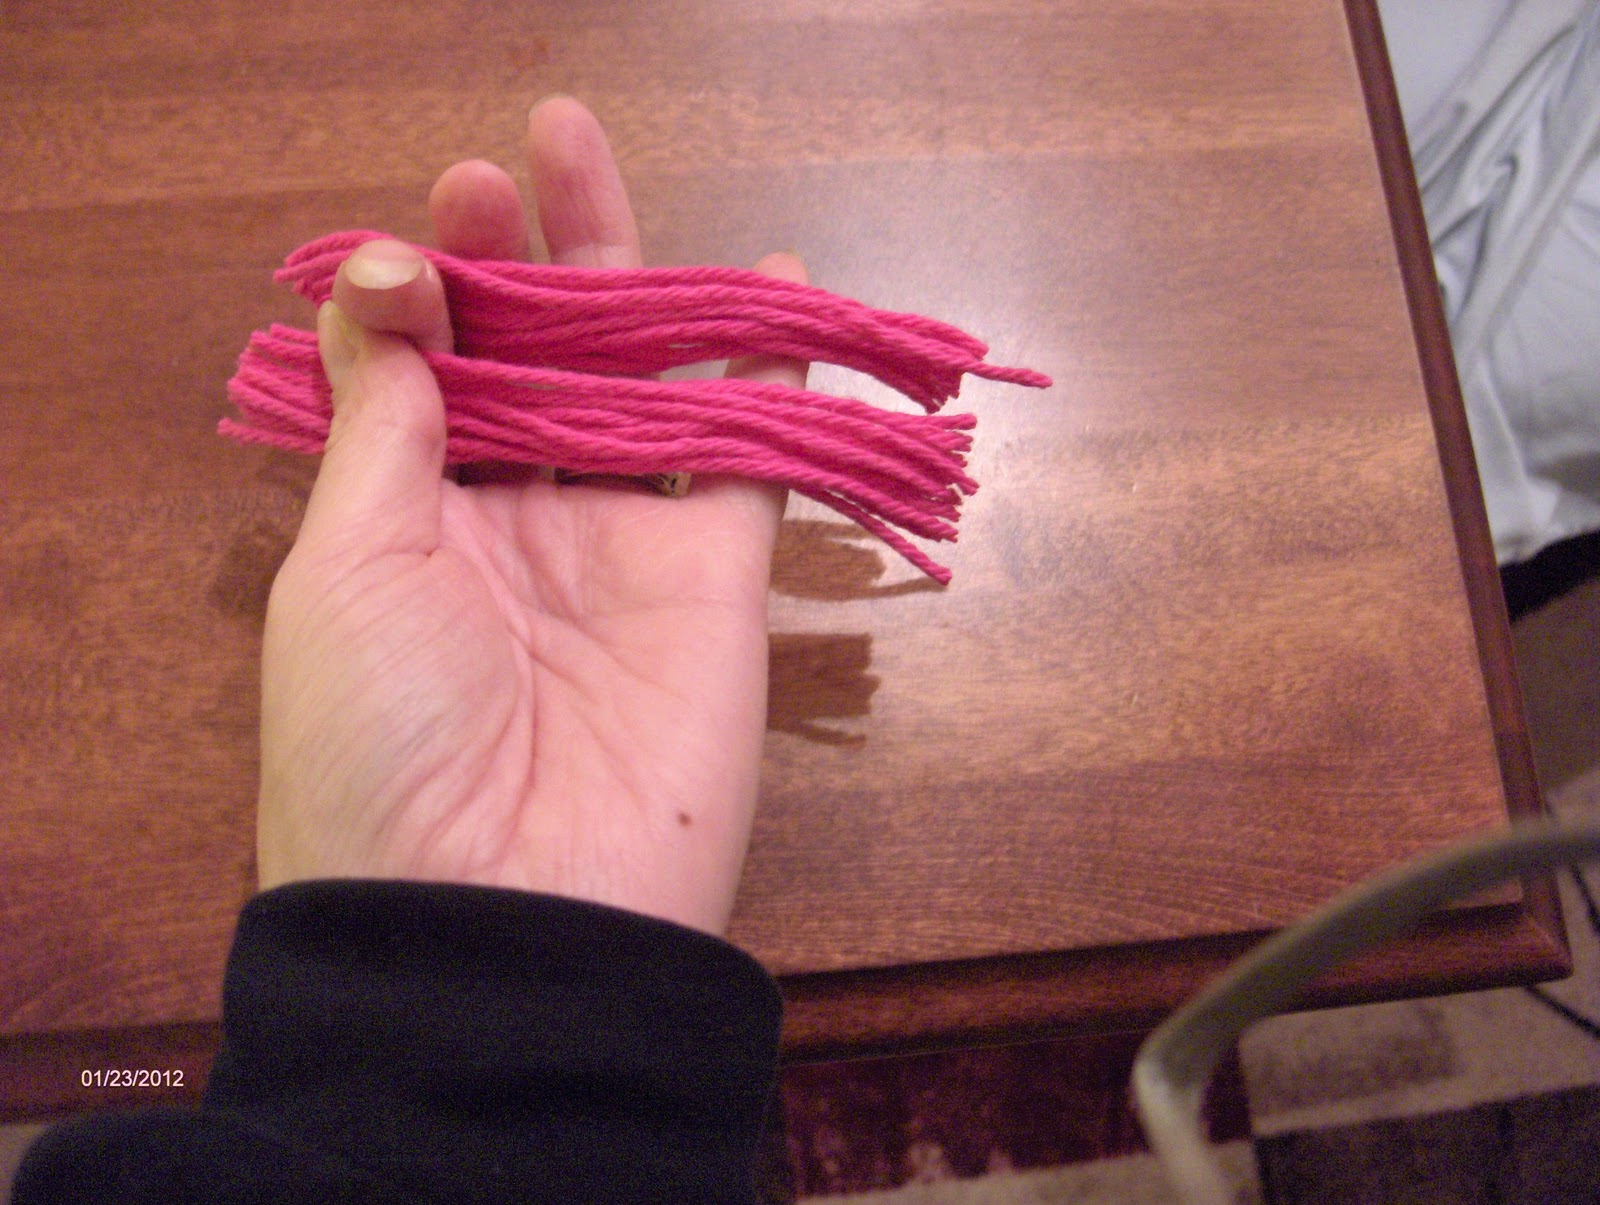
Cut a rectangle from scrap cardboard (think cereal box - I used a leftover butter box) that's approximately 5" long. It doesn't have to be exact - it's not like it's a heat shield tile on the space shuttle.
Wrap the yarn around the rectangle LENGTHWISE 19 times, ending when you get back to the top of the rectangle on the back side.
Remove the cardboard.
Snip the top loops with scissors.
Snip the bottom loops.
To add this fringe to your mug mat, insert your crochet hook from BACK TO FRONT in the corner of the base row.
Loop one of the fringies over the hook.
Pull through, then loop the tails over the hook.
Pull those through the loop on your hook. Pull tight.
It should look like this.
Work across both the base row and the top row.
When you get all the way across, both rows, use a ruler to trim your fringe.
And then you are all done. Now, you can knit anything - all knitting is knits, purls, and yarn overs/unders - even cables. Aren't you just so talented and clever! Make one of these or a dozen. Make them in all reds, pinks and whites for St. Valentine's Day. Make them with larger needles, in pastels, and stitch them together to make a cute baby afghan. Make a bunch in a friend's favorite color, and stitch them together to make her a throw for her birthday or a scarf for Christmas. Quite a lot of versatility for a little heart!
Enjoy your newest knitting stitch!


7 comments:
This is really cute. I was wondering if the fringe could be on the sides.
ABSOLUTELY! You can put fringe on here wherever you'd like, or no fringe at all. Have fun with it!
Very cute! I will be giving it a try this weekend. I have some sugar n cream yarn just waiting to be made into a coster or two.
Thank you for the lesson.
Kathy H
How sweet! I am a fairly new knitter but I think I could do this. I would leave the fringe off as I'm not a big fan of fringe so I'm glad you said it wasn't a requirement. I actually just finished a purlbee or purl/soho pattern for a felted oven mitt and I need to start the 2nd one but I might knit this before I start that 2nd mitt. I love knitting so far and if you count all the times I've ripped out and started over...well, I've done a lot! LOL! But I only have 2 scarves and 1 oven mitt to show for it! But after ripping out so much it taught me to finally figure out how to back out of stitches if need be. So now I'm starting to make more progress! LOL! Thanks for the pattern, tutorial and Favecrafts website. I've never heard of them. What's next?????
Very cute! Job well done!
Great blog......
I am following from the Friday hop. I hope you stop by lionessrebithorg.blogspot.com
Lioness
SO CUTE!! Your tutorial is excellent with all the instructions and pictures! FOund your blog via a hop, but I honestly can't remember which one! HA HA! I'm your newest follower! Happy Valentine's Day to you. Love, Mama Leisha at callmemamaleisha.blogspot.com
Post a Comment